Spray Paint Your Fixtures for an Easy and Affordable Update
Looking for an easy way to update your dated light fixtures? Check out this affordable way to spray paint them!
Buying a fixer upper can be overwhelming when you look at all the DIYs to do. There’s always lots of projects, but not much money to cover them all.
Large projects take a lot of time to complete.
But other projects I knew I could tackle with some elbow grease and a can of spray paint.
Like my dated light fixtures!
Here’s how we brought our fixer up to date by giving new life to old lights by spray painting our fixtures.

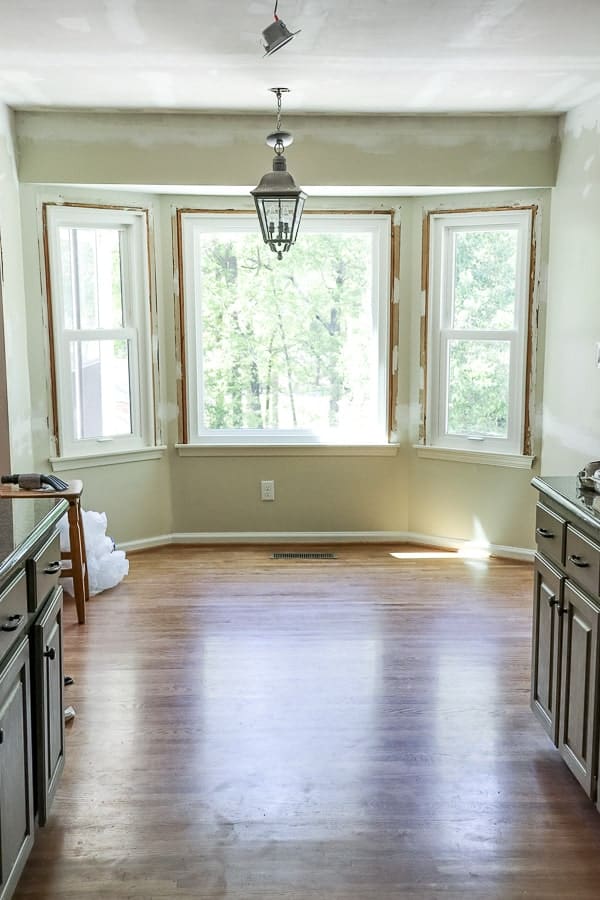
When we moved into our Almost Farmhouse 2 years ago, some of the needed work was completely overwhelming and I saw visions of my empty wallet with moths flying out.
Brass has been making a comeback recently and this home was chock full of brass fixtures.
But there’s brass and then there’s brass.
A yucky cheap brass fixture versus a gorgeous beautiful heavy swoon-worthy antique brass. Like my gorgeous chandelier from our Tennessee home.
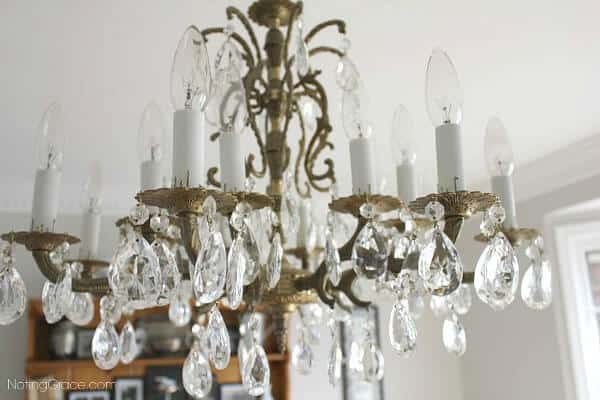
It was one of the pieces that made me fall in love and buy this house.
But the rest of the fixtures in our Tennessee home were the yucky 80s brass.
Just like the light we fixed up for our boys bathroom.
But nothing that a coat of spray paint couldn’t fix!
Can you spray paint a metal light fixture?
Definitely! But make sure you use the right kind of products. I prefer RustOleum spray paint. It’s the clear winner when it comes to adhesion and is my favorite spray paint brand.
I’ve used it on metal, plastics, wood and glass.
And it holds up really well, too. We have used it to update door hardware. We even sprayed the shower doors in our boys bathroom.
How about some step by step instructions on how to spray paint your light fixtures.
Here’s the full tutorial on how to update your fixtures to give a new look to your room without the extra cost of a new light fixture.
Spray Painting Your Light Fixtures
(Some affiliate links are provided below. Full disclosure here.)
First gather your supplies. Here’s what you’ll need:
- Painter’s Tape
- Sand Paper – this is a great starter sand paper kit
- Metal Spray Paint
- Drop Cloth
1. Sand the fixture down to scuff the clear coat
Most surfaces are covered in a clear, poly-type coat that protects it from rusting or getting scratched. Sanding this invisible coat gives the surface ‘teeth’ to help the spray paint adhere. You will want to use fine-grit sandpaper so that you don’t scratch the finish.
*Be sure to wipe the fixture clean with a damp rag before spray painting or you will be stuck with gunk in your coating.
I’ve been educated that this technical term, according to Trent, is called ‘trash’.
2. Tape off any electrical wires and openings
This is to keep the spray paint off those important areas. A little bit of prep work is key to the success of any project!
3. Spray the paint in even, light coats.
I like to call it the SHH Method. The length of time that it takes to say “Shh” is the amount of time you spray the paint.
Simply shh, shh, shh the paint back and forth until it’s evenly coated. You will want to apply thin coats. So remember, you still may need a second coat. Don’t make the mistake I made by removing the paper in between coats!
Allow the coats to dry completely before reapplying.

This little tool really saves your finger from cramping if you have a lot of spray painting ahead of you. It’s a comfort grip that attaches to the can easily and acts as a paint sprayer.
4. After the spray paint is dry, remove the tape and you can re-install the light.
*PLEASE NOTE* I am not including any wiring instructions because I am not a licensed electrician. Be sure to follow all safety measures when working with electricity. Educate yourself properly or hire someone to do it for you.
Here’s how it looks in our Boy’s bathroom. We recently updated their bathroom for the one room challenge if you want to see the whole bathroom.
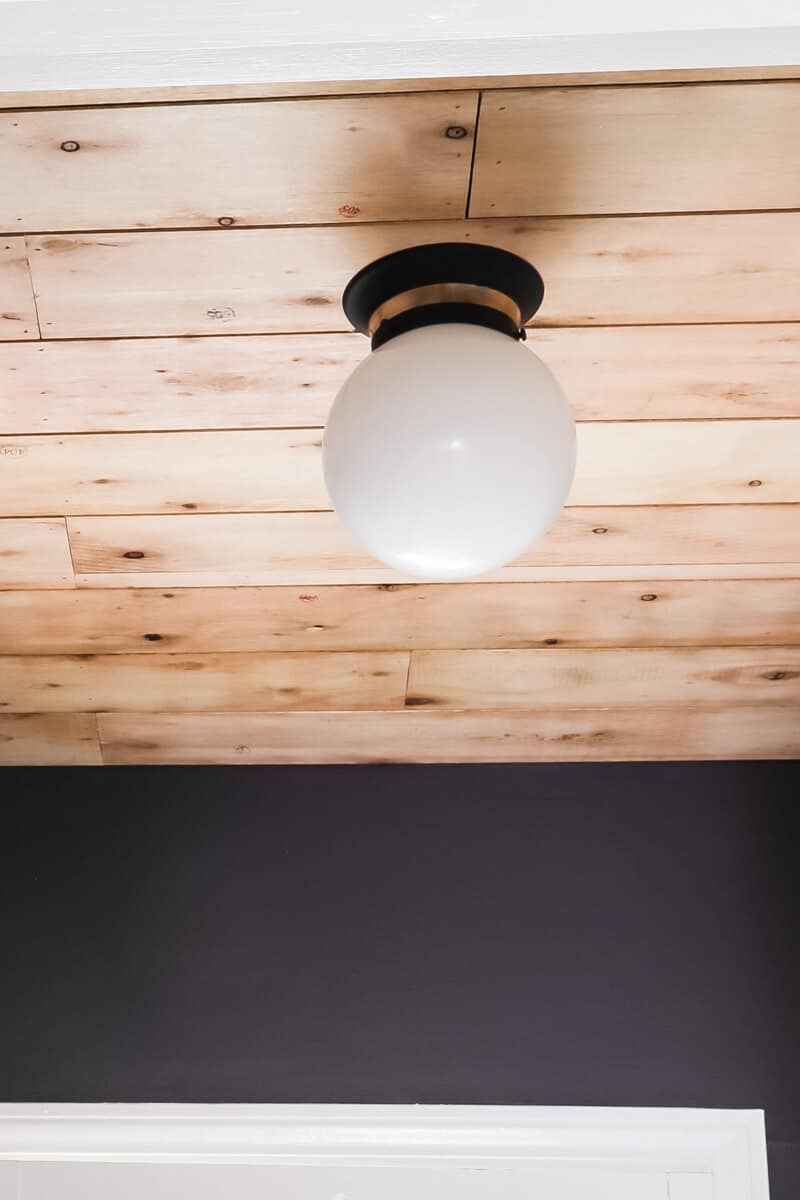
Isn’t it beautiful?
Trent came up with the idea to create a brass stripe. He just put painters tape around the base and used a light coat of paint in black.
It matches the new bathroom vanity lights we had to purchase.
The ceiling is a DIY, too! You can see the full tutorial in this post. You won’t believe what we used for the planks!
We used this same technique in our Tennessee home on some pendant lights and a brass light fixture.
Here’s how some of those fixtures turned out.
Here is a side by side look of what a little spray paint can do for your fixtures.
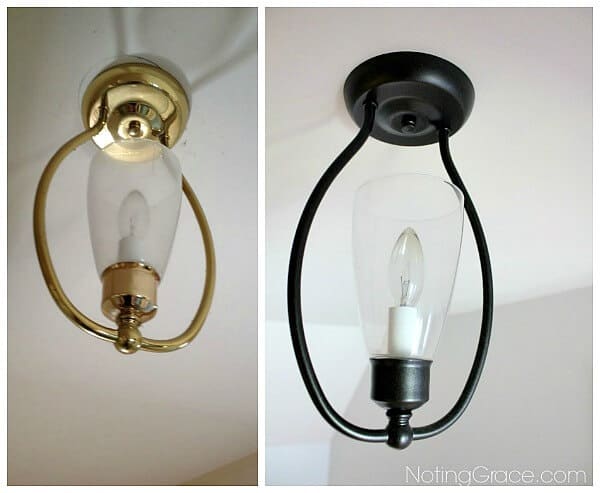
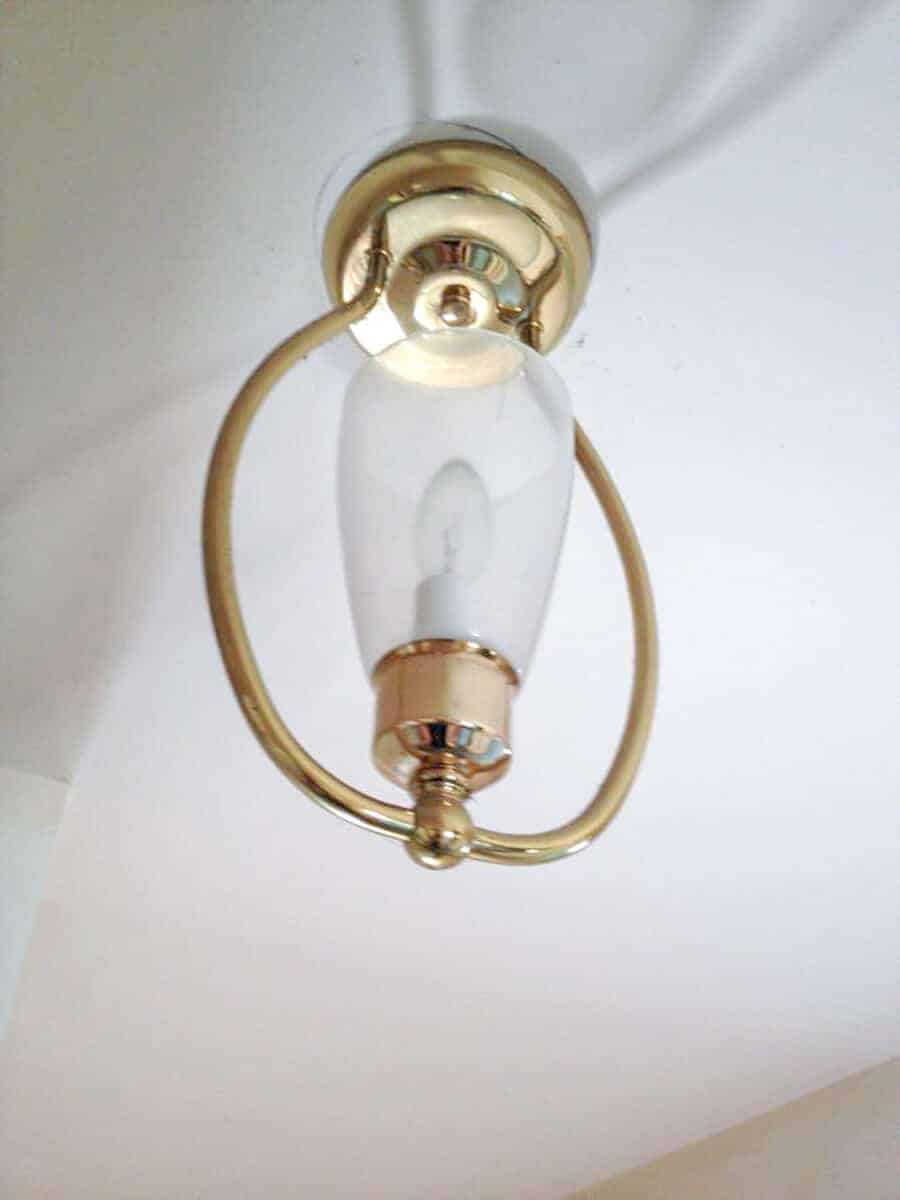
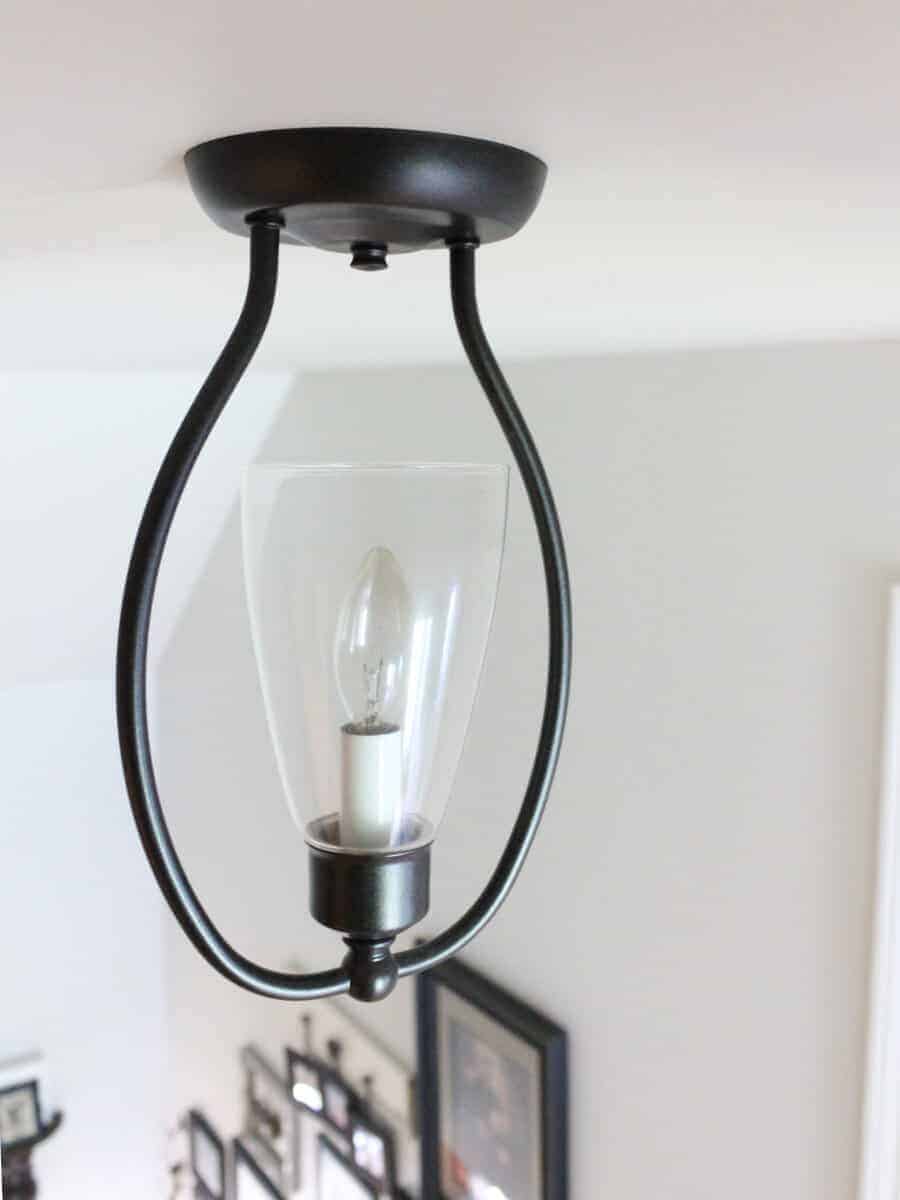
We also updated the fixture in our upstairs bathroom.
I loved the shape of this fixture, but you can tell it is dated and starting to rust.
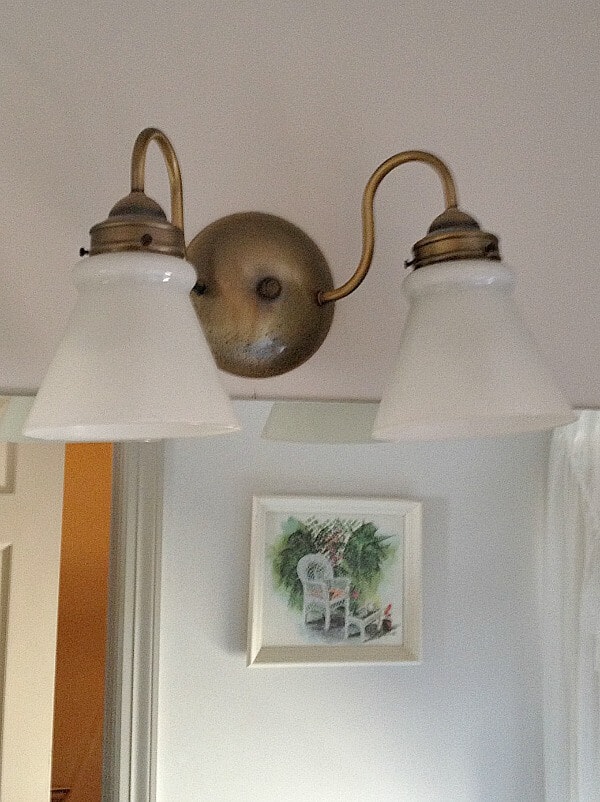
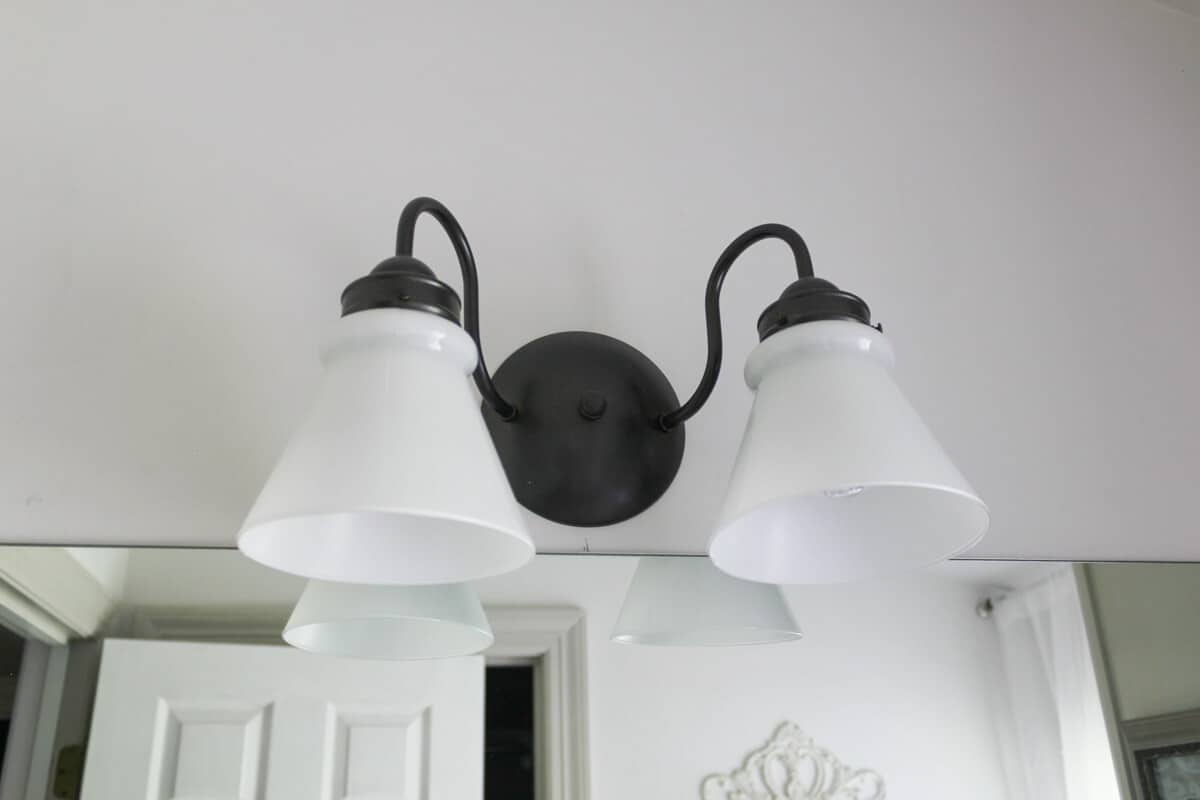
Instead of replacing the entire light fixture, we removed the glass shades and gave it a farmhouse look with a few coats of spray paint in a dark bronze color.
Tell me how to spray paint a light fixture without taking it down?
I get it – electricity scares me too!
The important thing to remember about spray paint is that overspray can happen.
Overspray are tiny paint particles caused by the mist when spraying paint.
So be sure to mask off the area properly using a quality painter’s tape, paper masking, and drop cloths.
Cover any areas that you don’t want the paint to get on.
And use very light coats to avoid getting runs in the paint.
So, by using the same techniques above, you can see how much spray painting your fixtures can change the look.
And remember, you aren’t stuck with one color or kind of finish!
Gold light fixtures and antique brass are making a strong comeback.
You can use a bronze spray paint, or even a gold one. My friend, Lauren, at Blesser House wrote an entire post on the perfect gold spray paint!
The best thing is that you will be able to save your money for the bigger renovations while updating smaller projects like these.
And it doesn’t take a lot of time to paint light fixtures.
I hope this light fixture hack inspires you to try this DIY. Be sure to ask me any questions and we’ll be happy to share what tricks we’ve learned over the years!


Jen,
Positively amazing! You have a savvy eye for decorating and transforming. Pinning this one for certain!
Great to see you at #TOHOT!
Jemma
Absolutely! Spray paint for the win every time. You did a great job on those light fixtures. Love your real brass chandelier…we have one too.