How to Make a DIY Blanket Ladder
We were able to make this adorable DIY Blanket Ladder using that leftover wood for free. Here’s how we did it.
Do you have any scrap wood laying around?
Is it a huge saftey hazard in your garage that you are constantly herding your children away from?
Are you also afraid of what creepy crawly, spidery things might try to make a home in that pile of scrap wood?
We were able to make this adorable DIY Blanket Ladder using that leftover wood for free.
And we were able to make our garage a safer place for little ones and a momma much happier.
Here’s how we did it in just a few hours.
In our garage, we’ve been storing this pile of wood that we saved from some repairs we made to our deck last summer.
It was aged just right and too pretty to take to the dump.
Honestly, that stack of wood was in the way and was starting to worry me with visions of 2 by 4s falling on my boys heads!
So I came up with a simple idea to use the wood and free up the safety hazard in my garage.
If you are struggling with blanket storage in your living room or just want easy access to your throw blankets for movie nights, then I got you covered!
How to Make a DIY Blanket Ladder
(Some affiliate links are provided below. Full disclosure here.)
- Scrap piece of wood – the more weathered the better!
- Miter Saw or circular saw
- Sandpaper or sanding block
- Spare Wood Screws
- Tape Measure
- Carpenter’s Square
- Drill
- Wood Stain or Antiquing Glaze – I like this one
- Felt Pads
- Optional: Wood Glue
- Safety goggles and mask
Cutting the wood
The type of wood doesn’t matter. We used old pine boards for our ladder sides and used some deck balusters for the rungs.
First we chose the pieces we were going to use and made fresh cuts to the ends with our Miter Saw. If you don’t have a mitre saw, a circular saw would work great as well.
Figure the length of the ladder legs and measure and cut the sides of the ladder
By making fresh cuts to the ends, that helps ensure a straight edge.
This is a great time to also cut the length of the ladder rungs as well as the rungs.
TIP: Make sure that you take proper safety precautions and wear safety goggles and/or a mask when cutting your wood.
Preparing the wood

The most important thing we did next was lightly sand the pieces with 180 grit sandpaper and then wash them thoroughly.
You want the surface of the wood to be free of any rough edges that may snag your blankets.
Since our wood was old pressure treated lumber exposed to the elements, I gave them a good scrub.
Mostly because I didn’t want any of those creepy crawlies left around! Especially on my soft blankets!
If you set them out in the sun on a warm day, then it speeds up the drying time.
Antiquing the wood
As you can see above, my pieces weren’t the same color after the sand/wash step.
So I used a little antiquing glaze to add uniformity to the pieces.
If you are repurposing old wood, you want to make sure you are paying particular attention to where your cuts were made as those fresh cuts will look differently than the older parts of the wood.
You can also take your favorite stain and a paint brush to give it a fresh look.
Or if you wanted find a fun way to add a pop of color to your home decor, you could also paint it! The great thing about this project is that you can truly make it your own!
We were going for a weathered, worn look. If you don’t have antiquing glaze, a dark walnut stain could achieve the same look as our rustic blanket ladder.
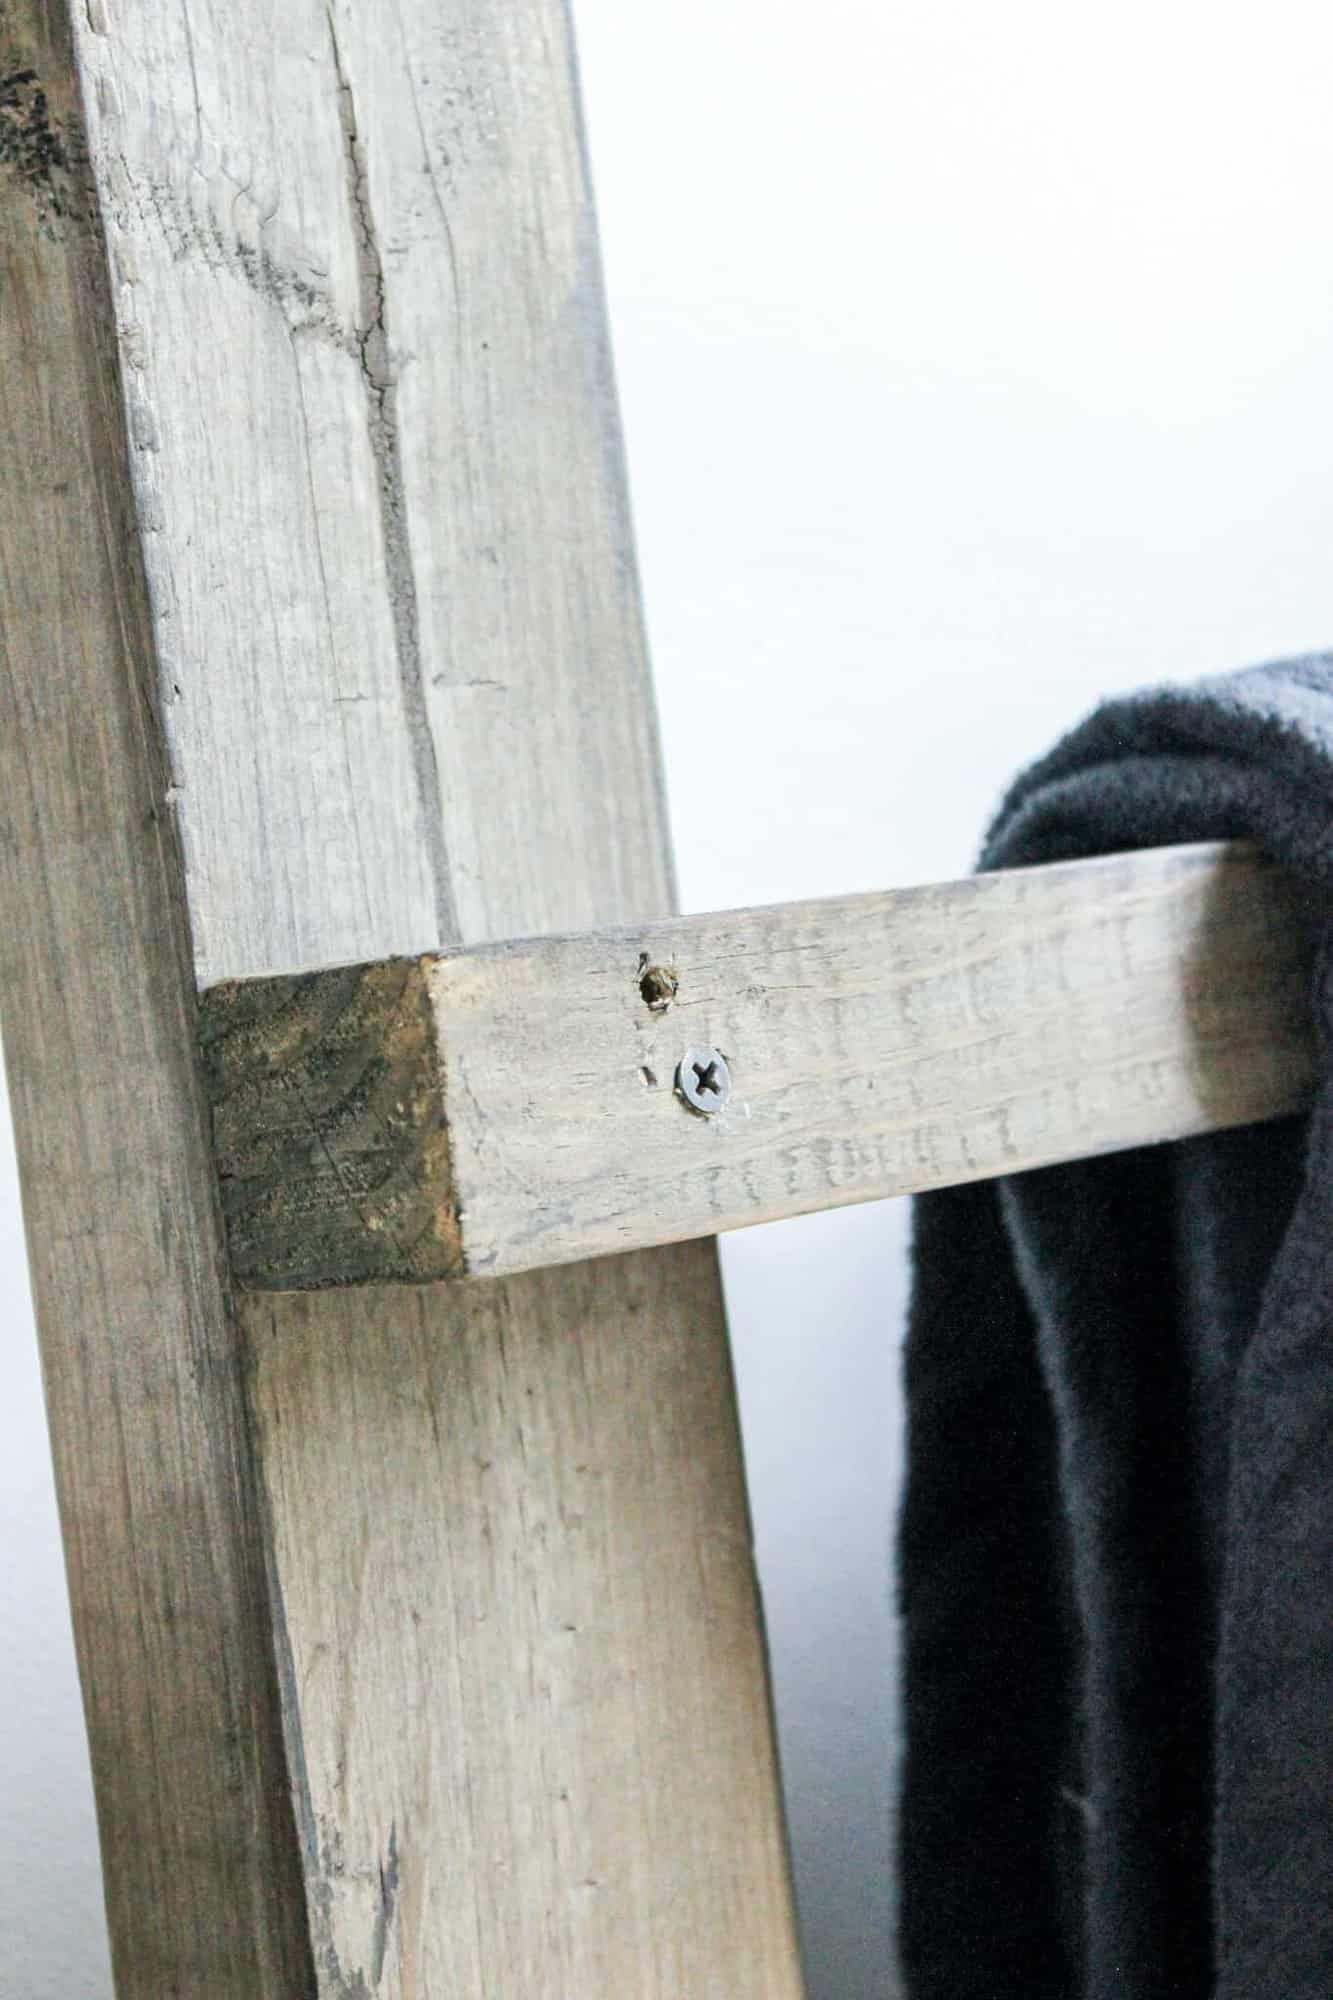
Assembling the ladder
Start by laying the long pieces on a flat surface.
Then we eyeballed where our braces would go.
So this is where your carpenter’s square comes in handy to make sure your ‘rungs’ are level.
Once you feel you find the distance between the rungs you like, take a measurement and place each rung at the same spacing.
Of course, little hands had to join in as well.
This is a perfect beginner project for anyone!
But moments like these make for wonderful times of teaching and gave the boys a chance to be manly men next to their Daddy!
Trent used the power tools while the boys helped hold the side rails in place.
So it was a fun family afternoon helping us assemble the ladder.
OPTIONAL TIP: You could add a little bit of wood glue before screwing the rungs to the ladder. Have an old rag on hand to wipe away any excess glue that may ooze out when you screw the rungs in place.
That’s it!
Seriously – it was the easiest DIY project we’ve ever done! Plus it only took us about 2 hours total including the little teaching moments and drying time.
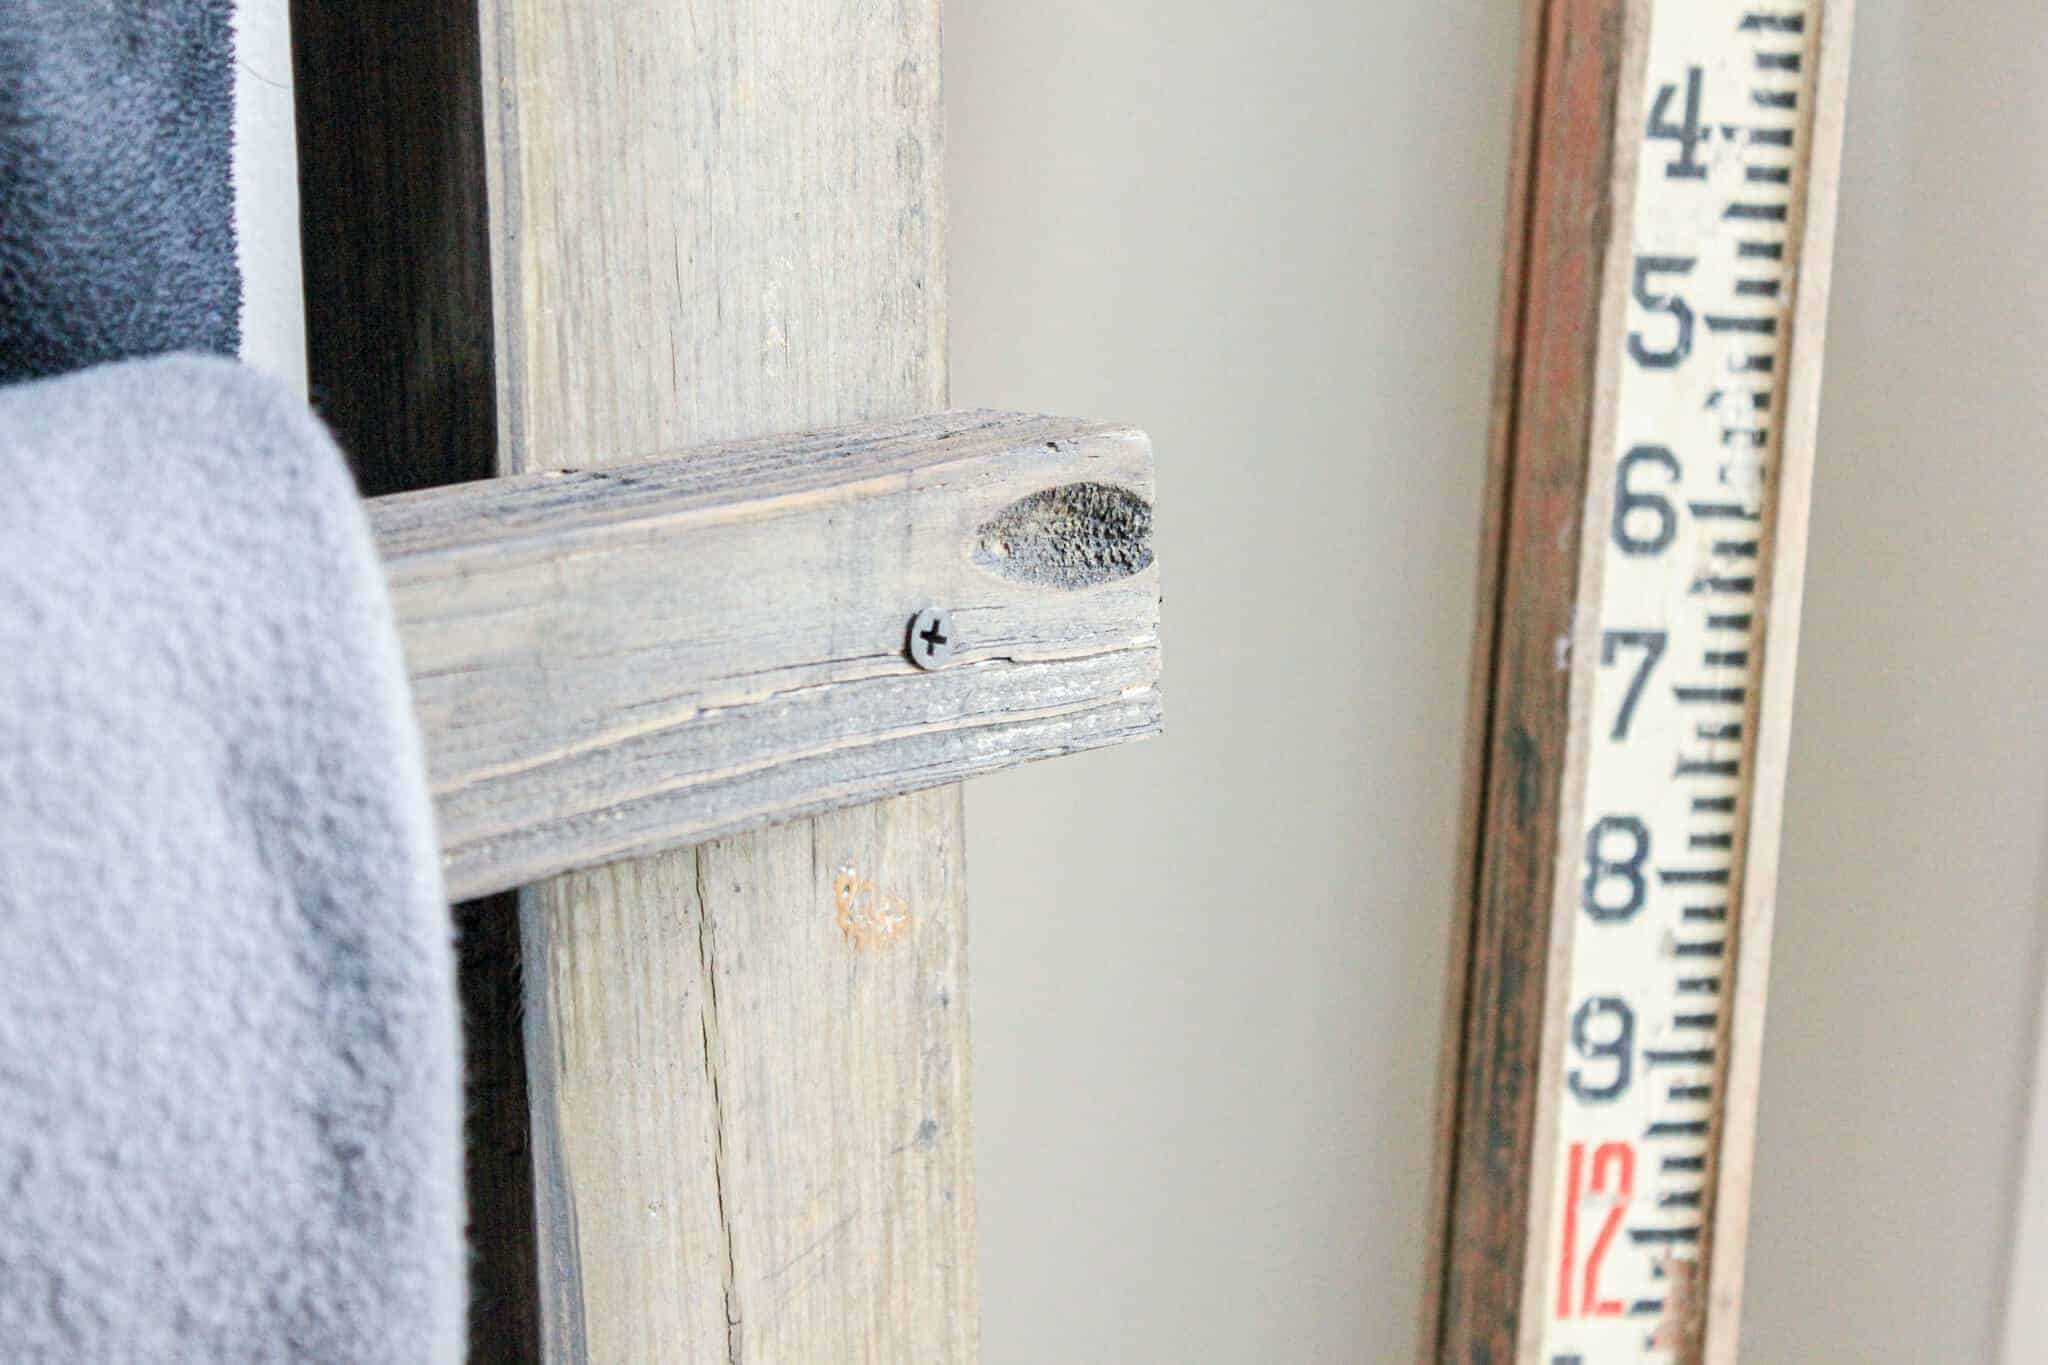
Since we were planning on placing this against the wall, one design feature we opted for was to make slight angle cuts to the legs to allow for an easier ‘lean’ on the wall.
The angle cuts would only work if you have a mitre saw.

I also added felt pads to the bottom of the ladder and also to the top where it leaned against the wall to prevent scratches to the floor or wall.
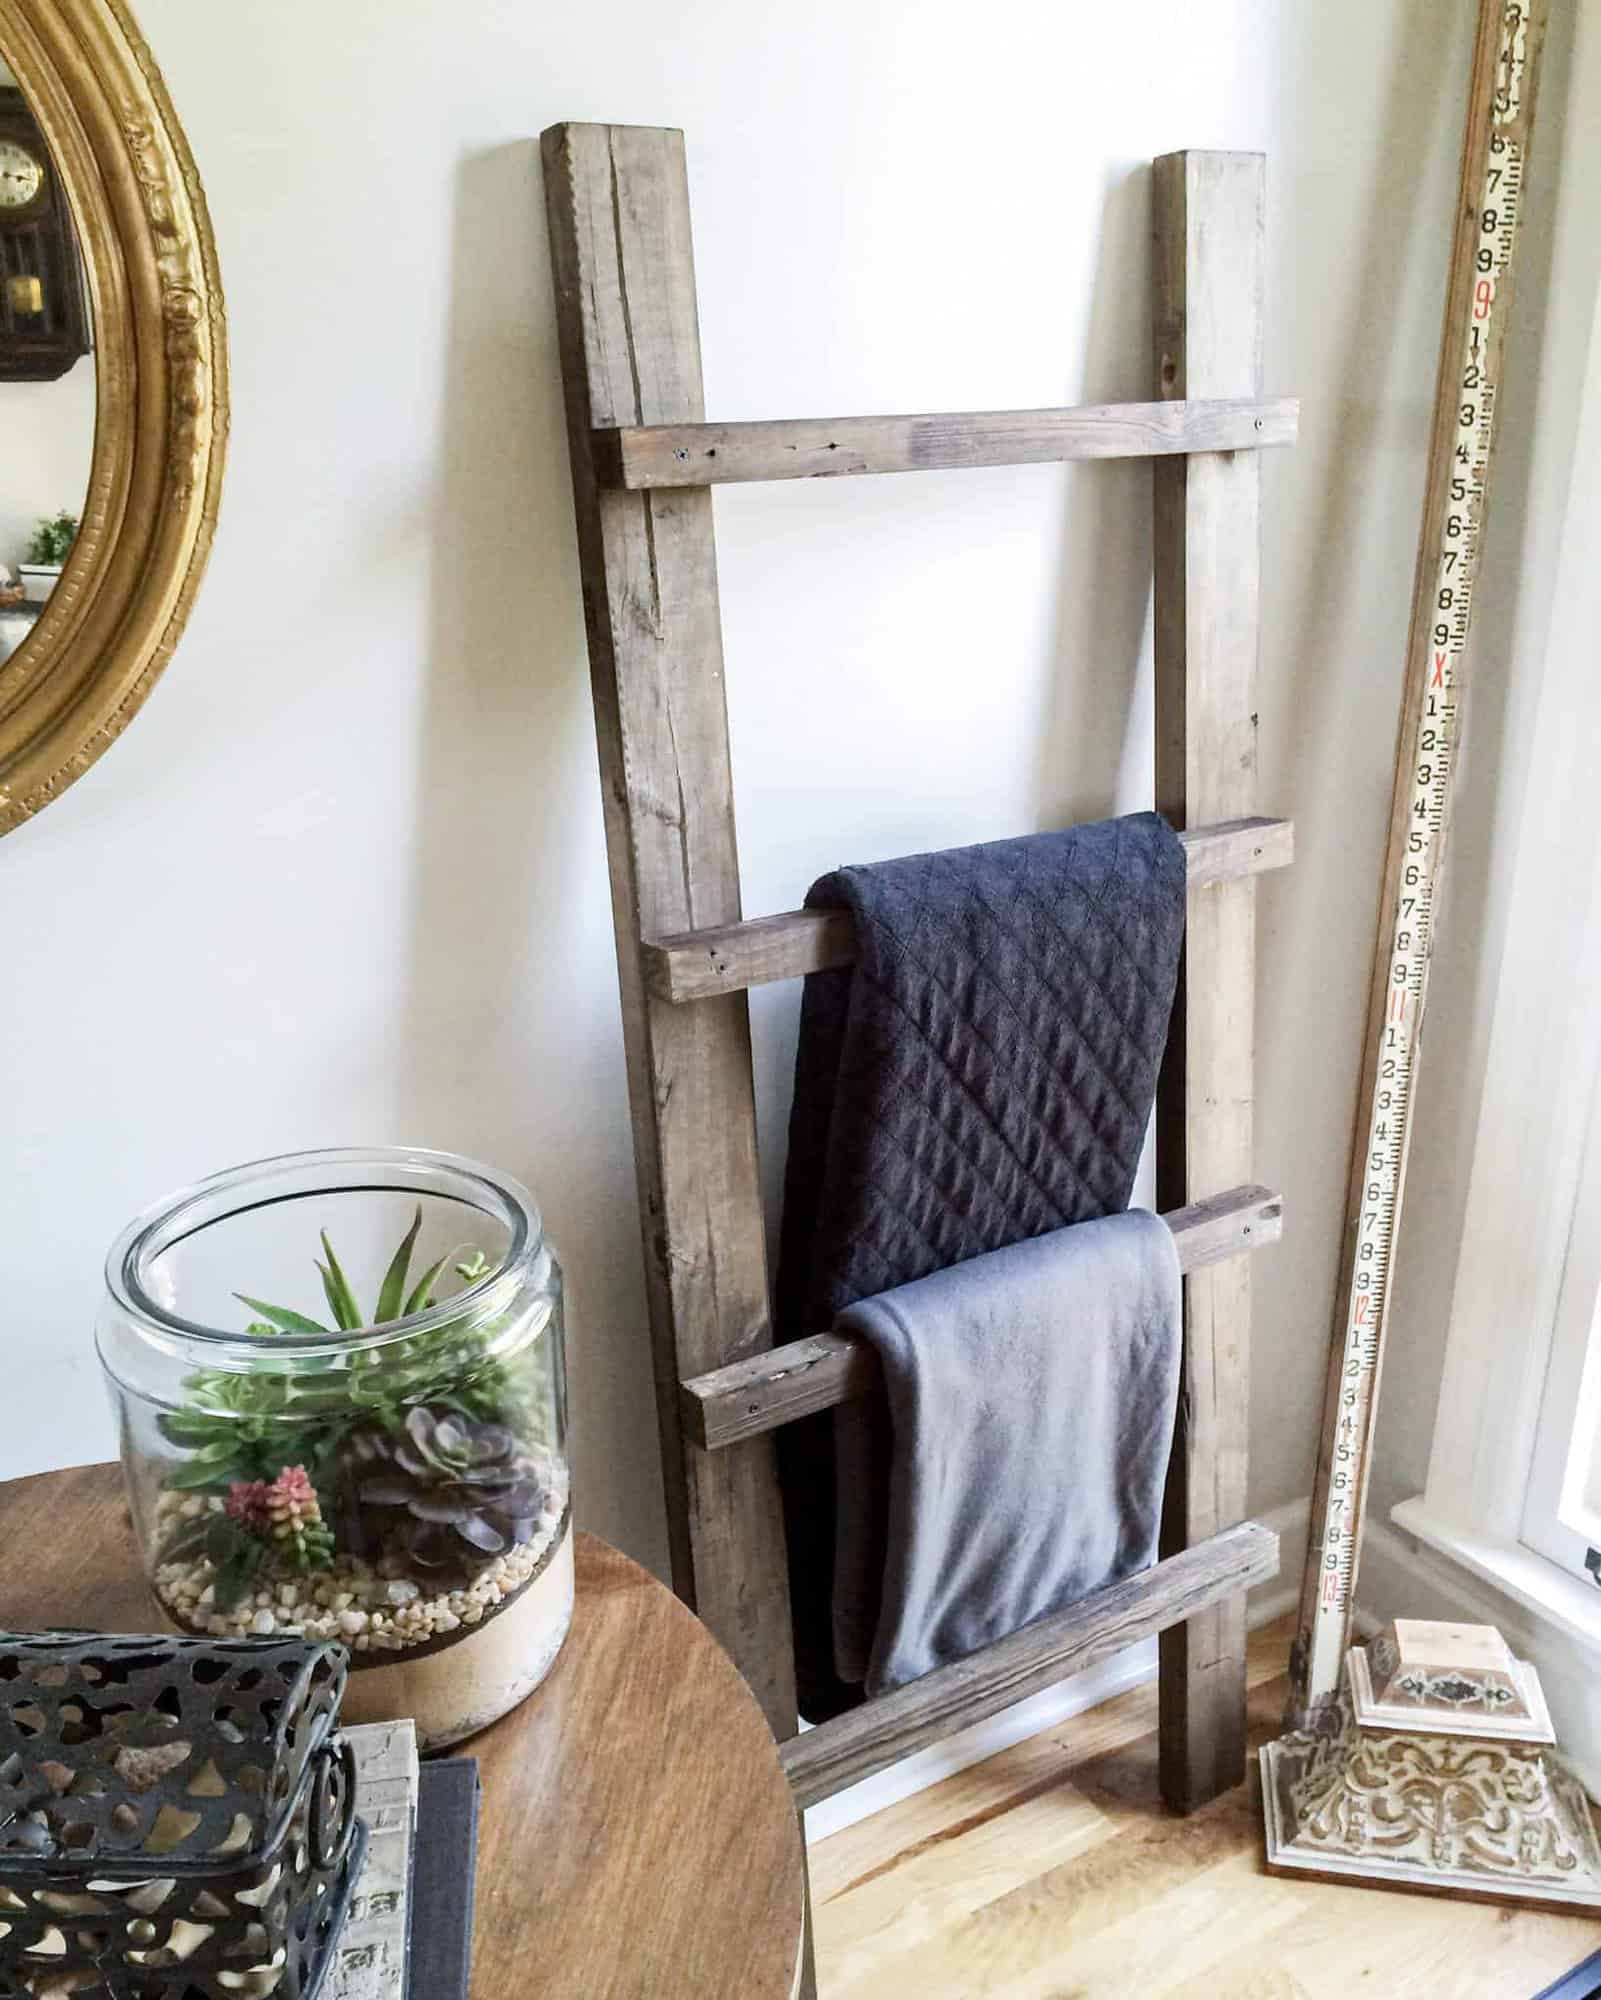
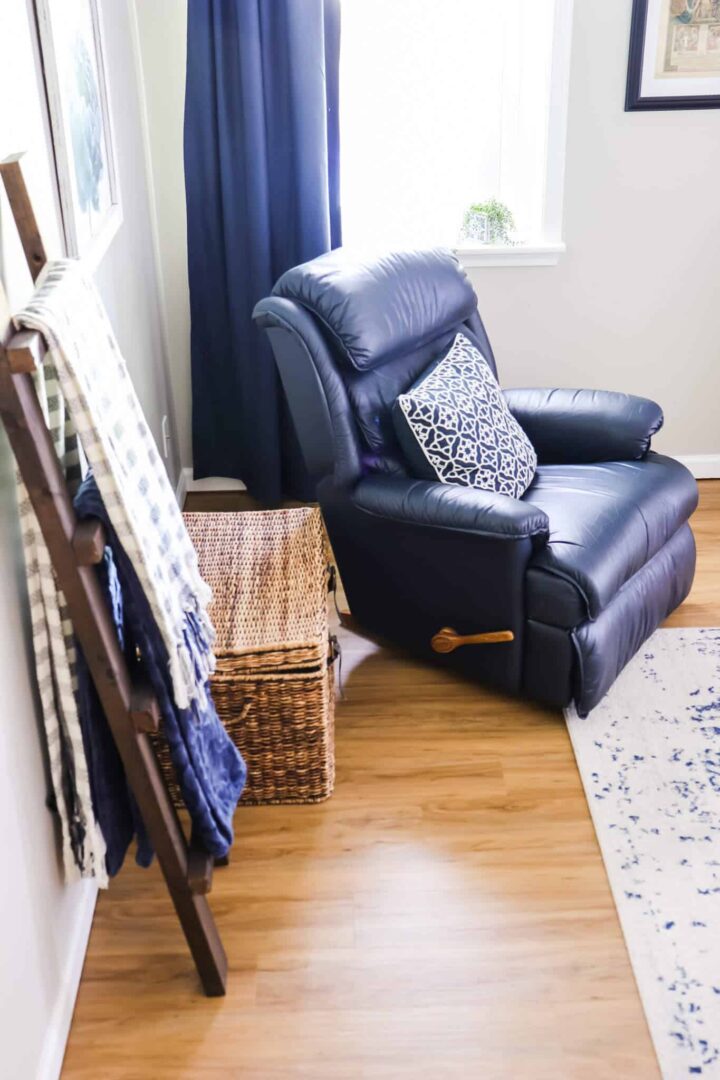
It looks nice and aged and is certainly a perfect fit for an empty corner.
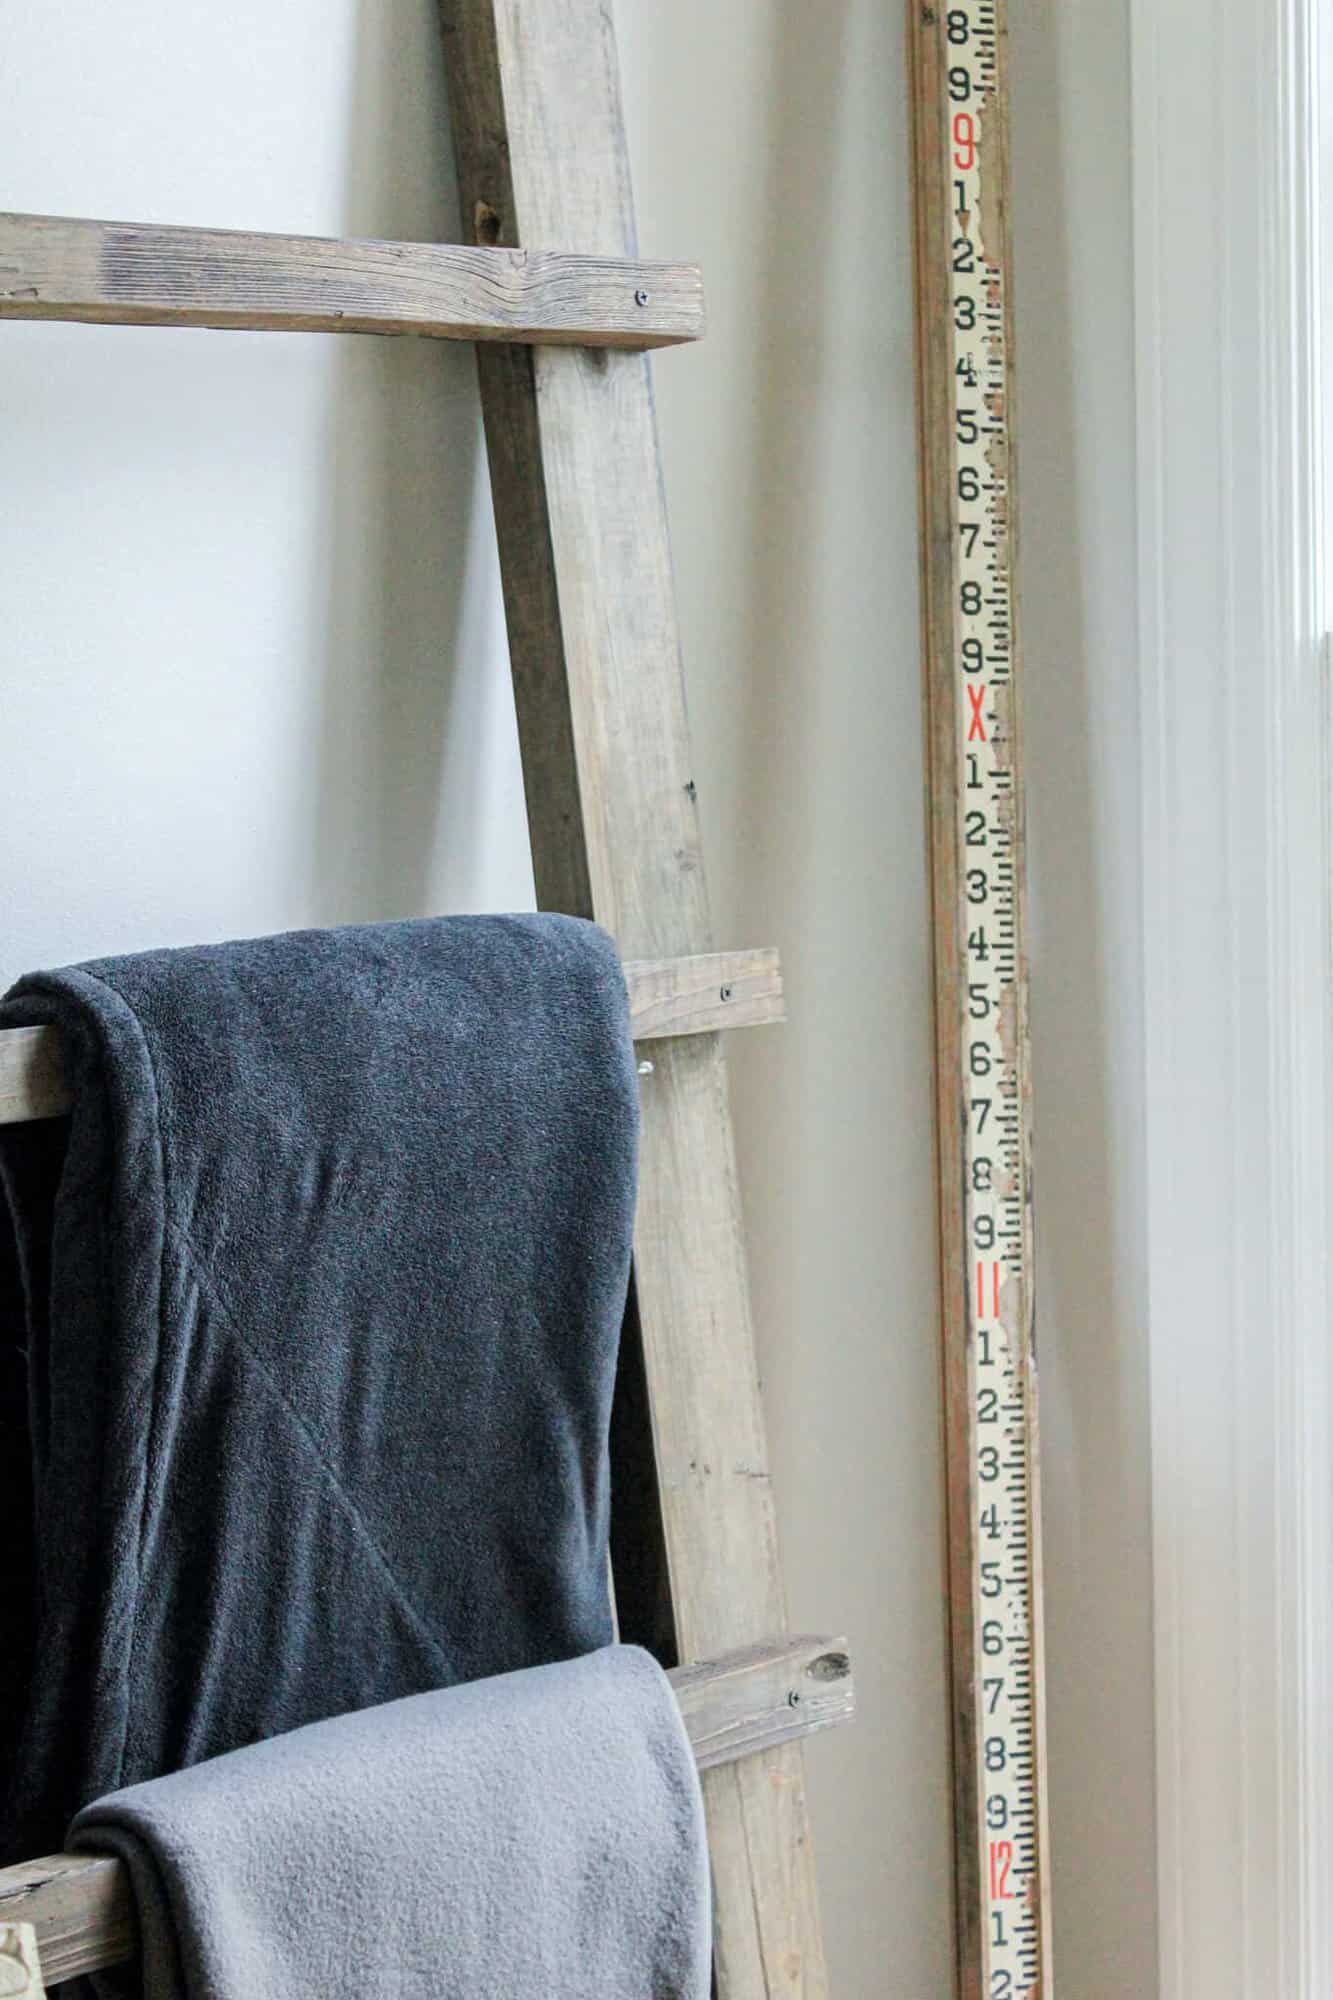
I placed our surveyor’s stick that we found for free on a trash run to the dump.
How awesome is that piece! I still can’t believe someone was throwing that away!
How much does it cost to make a blanket ladder?
There are a few different ways to get supplies for this simple tutorial.
We were able to repurpose scrap wood and screws to build our own blanket ladder.
But if you don’t have scrap wood around, you can purchase wood at your local hardware store.
A 10 foot 2 x 4 and an 8 foot 2 x 2 would be all you need to make a new blanket ladder for your home.
In fact, at Home Depot, you can have them cut the wood for you at an extra cost. If you don’t have power tools at home, it’s worth the additional cost to have the wood cut by their machines.
How tall should a blanket ladder be?
There is no set measurement for the sides or rungs of the ladder, but you could take your folded blanket to see the width you may need.
Another option would be to take your measuring tape to where you are wanting the ladder blanket holder to rest. If you have a limited space, measuring before you make any cuts would be key.
Our blanket ladder was about 5 feet tall and was about 2 feet wide when we used this in our Tennessee Home.
After moving, we didn’t have the same space, so I trimmed the rungs down to about 18-inch boards to make it smaller for our current home.
So what do you think? Will you be making a wooden blanket ladder?
In just a few hours with a few simple cuts and basic tools, you can create this simple DIY blanket ladder for your home.
It’s so easy peasy that y’all will be making one this weekend! Just grab your power tools and a scrap piece of wood!
Have fun making one of these and if you do, be sure to send me a picture so I can see it!
If you like this project, then you’ll love some of my other Pallet Projects.


22 Comments